Remember that 3d model of an Audi R8 that I started building in Maya two years ago? Don’t worry, I hardly remember many of the details myself (lol) but I’m happy to report that I’ve revived it from the dead and managed to get it wrapped up.
The entire project started as a way for me to dive head first into the world of 3d modeling in Maya, and it even though I bailed on it early on I’ve still considered it a successful exercise. First of all, the work that I put into it way back then was the perfect introduction polygonal modeling and I was able to put the project aside feeling like I had a gained a very solid understanding of what it takes to build complex surfaces in Maya.
I wasn’t an expert at that point (heck, I don’t even consider myself an expert now) but the knowledge I gained from that short stint of automotive modeling allowed me to jump into other Maya projects with ease.
But you know me – I feel uneasy when my pile of unfinished projects start backing up and I couldn’t resist the urge to pull this R8 out of my archives and finish what I started two years ago. The biggest reason for wanting to finish, I think, was the fact that cars are my biggest passion in life and I’ve always wanted to get into automotive design and modeling. And I’ve never built a complete 3d model of a car. So yeah – I just had to finish this, if only to say that I’ve built a car in 3d.
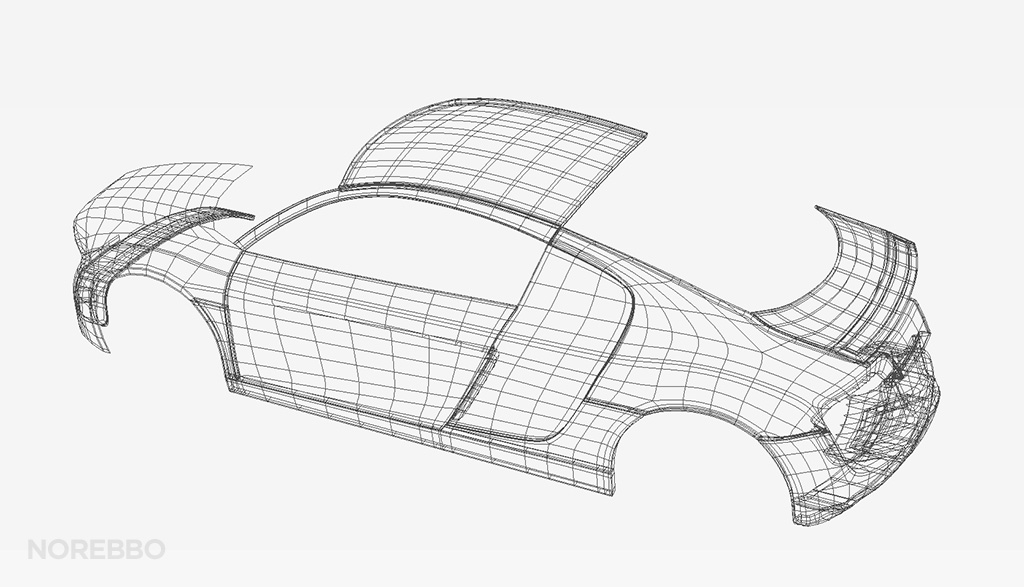
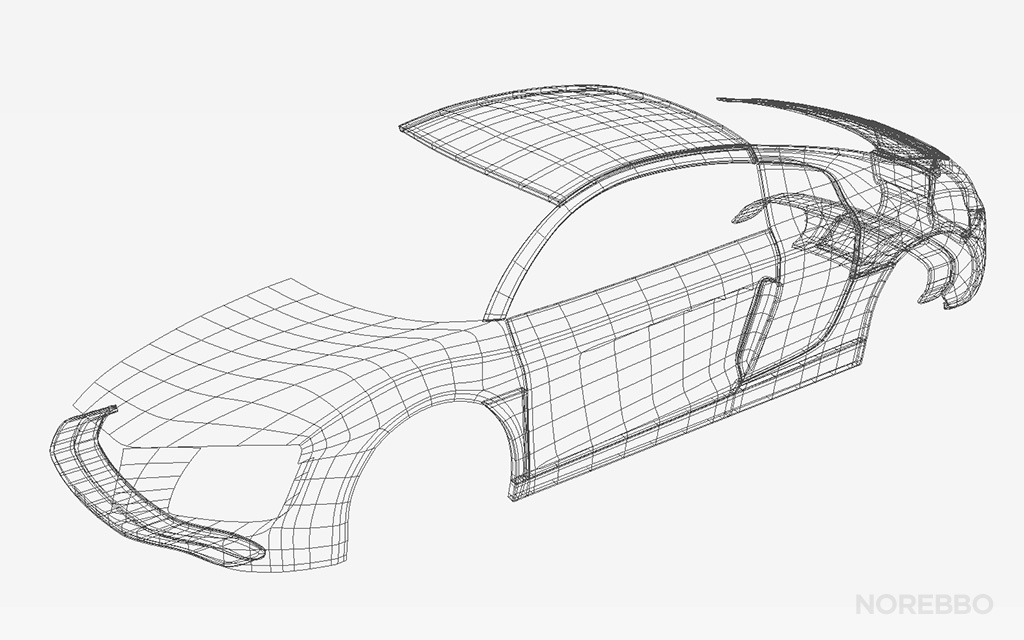
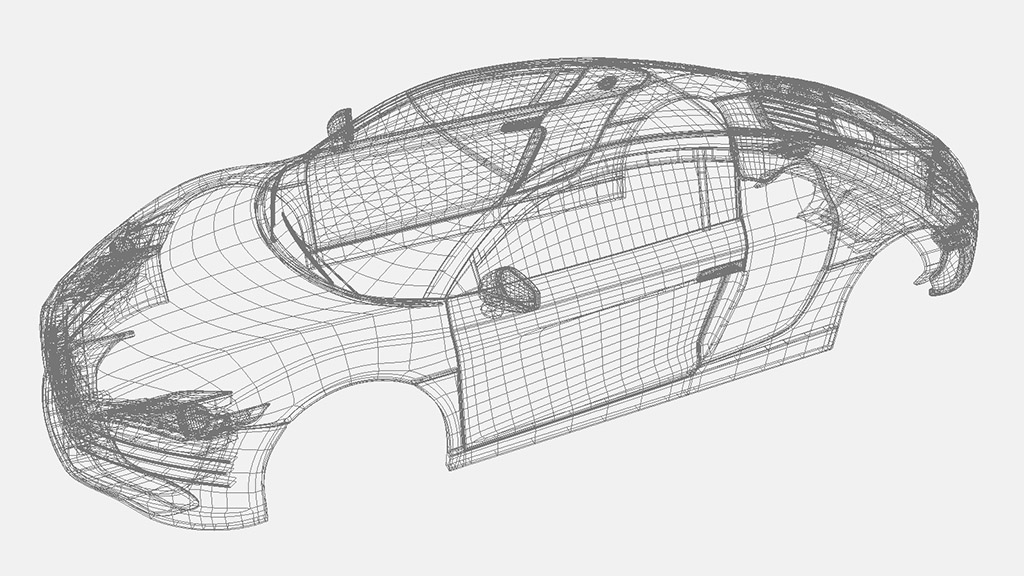
So, if you recall, here is where I left off:
And here is the completed 3d model:

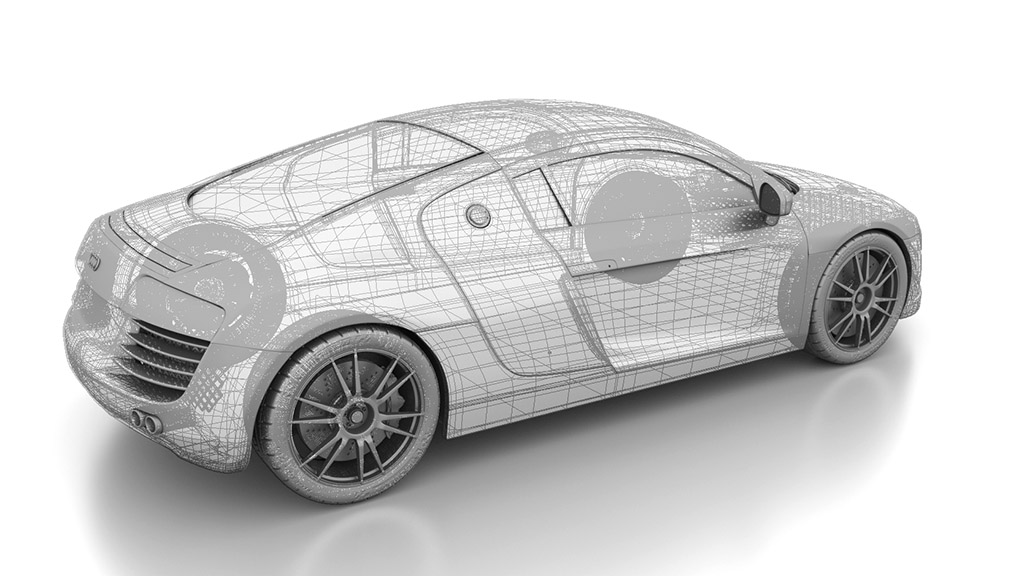
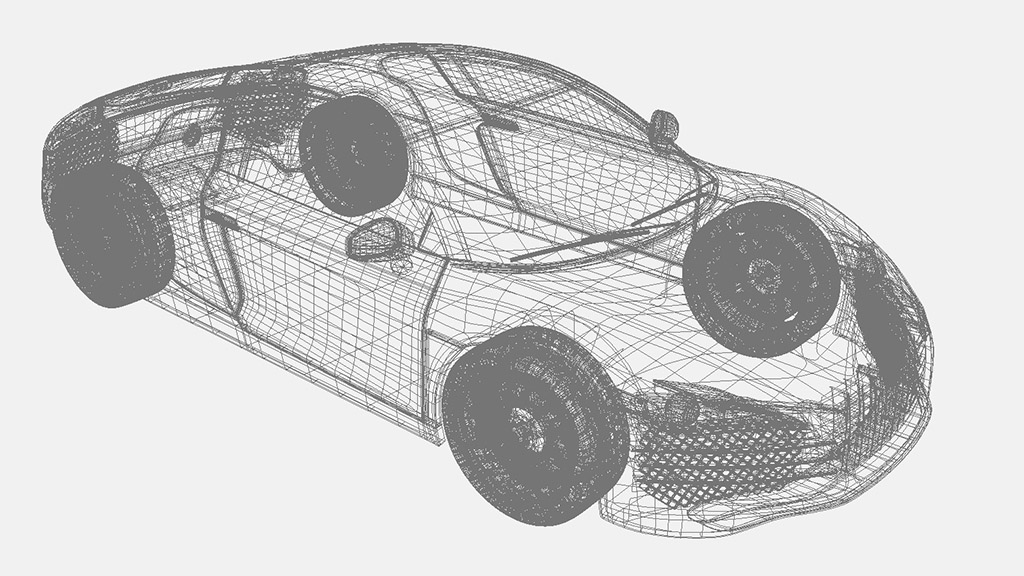
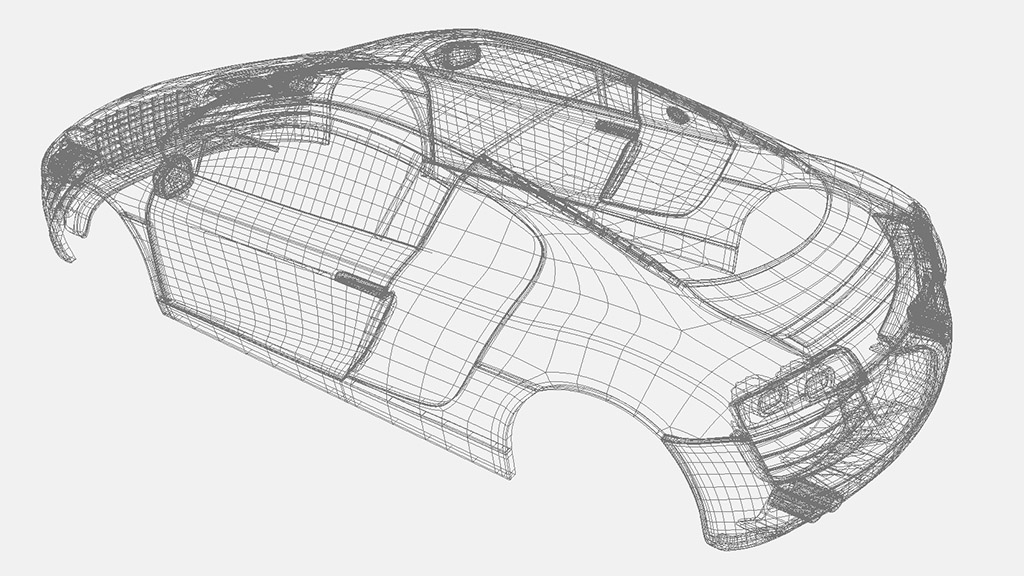
Is it perfect? Absolutely not! The surfaces of the Audi R8 are generally simple and not overly complex, but there were a few sections that I really struggled with. The taillight area is a total disaster and not anywhere near accurate. Same goes for the headlights – no matter how many vertices I pushed and pulled, I just couldn’t get it to look smooth and accurate. This entire model is what I consider to be a “10-footer”, meaning that it looks okay from a distance of 10 feet or so, but things get gnarly when viewed up close.
Even though it’s quite rough around the edges and very amateurish in spots, it’s a relief to have it wrapped up and close enough to call “done”. Many of the flaws were from errors I made very early on in the modeling process that wouldn’t be able to be rectified without starting over from scratch. Could I have fixed many of the problem areas? You bet. But it would have taken a lot of time to do – time which I would rather spend working on my next automotive model instead of trying to polish this turd.