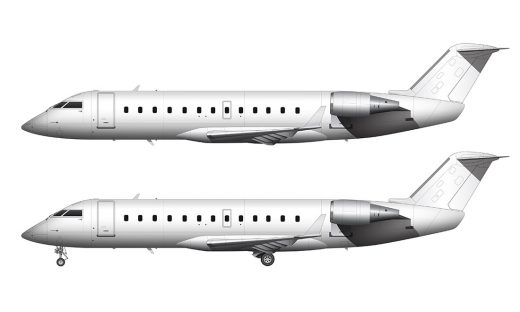
One of the most common questions I get about my free JPG sideview airliner templates is how to add realistic color and highlights to them. There are many of you who are struggling with this, so I thought it would be good to explain just how easy it is using Photoshop. And as a matter of fact, you can use any graphics editing software you want. Any decent graphics or illustration program will do, but for the sake of this tutorial I’ll show you how to edit the JPEG files directly in Photoshop.
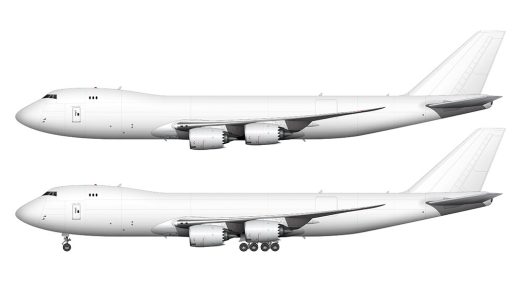
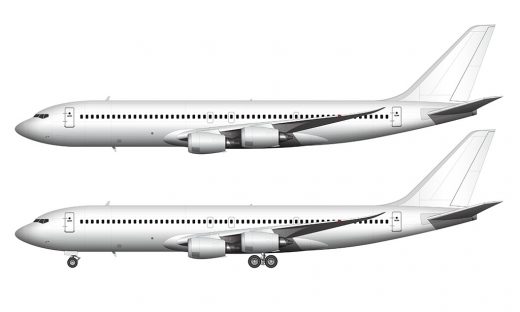
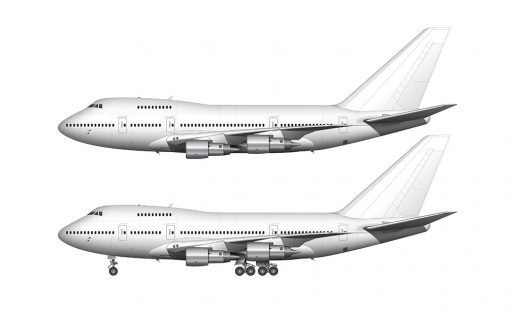
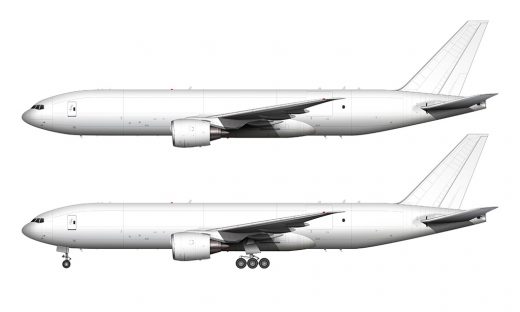
So go ahead and download one of my free templates – any one of them will do, fire up Photoshop, and let’s get started! In addition to writing this all out in an easy to follow step-by-step guide (below), I also created a video for those who prefer to learn that way:
Step one: tracing the entire aircraft
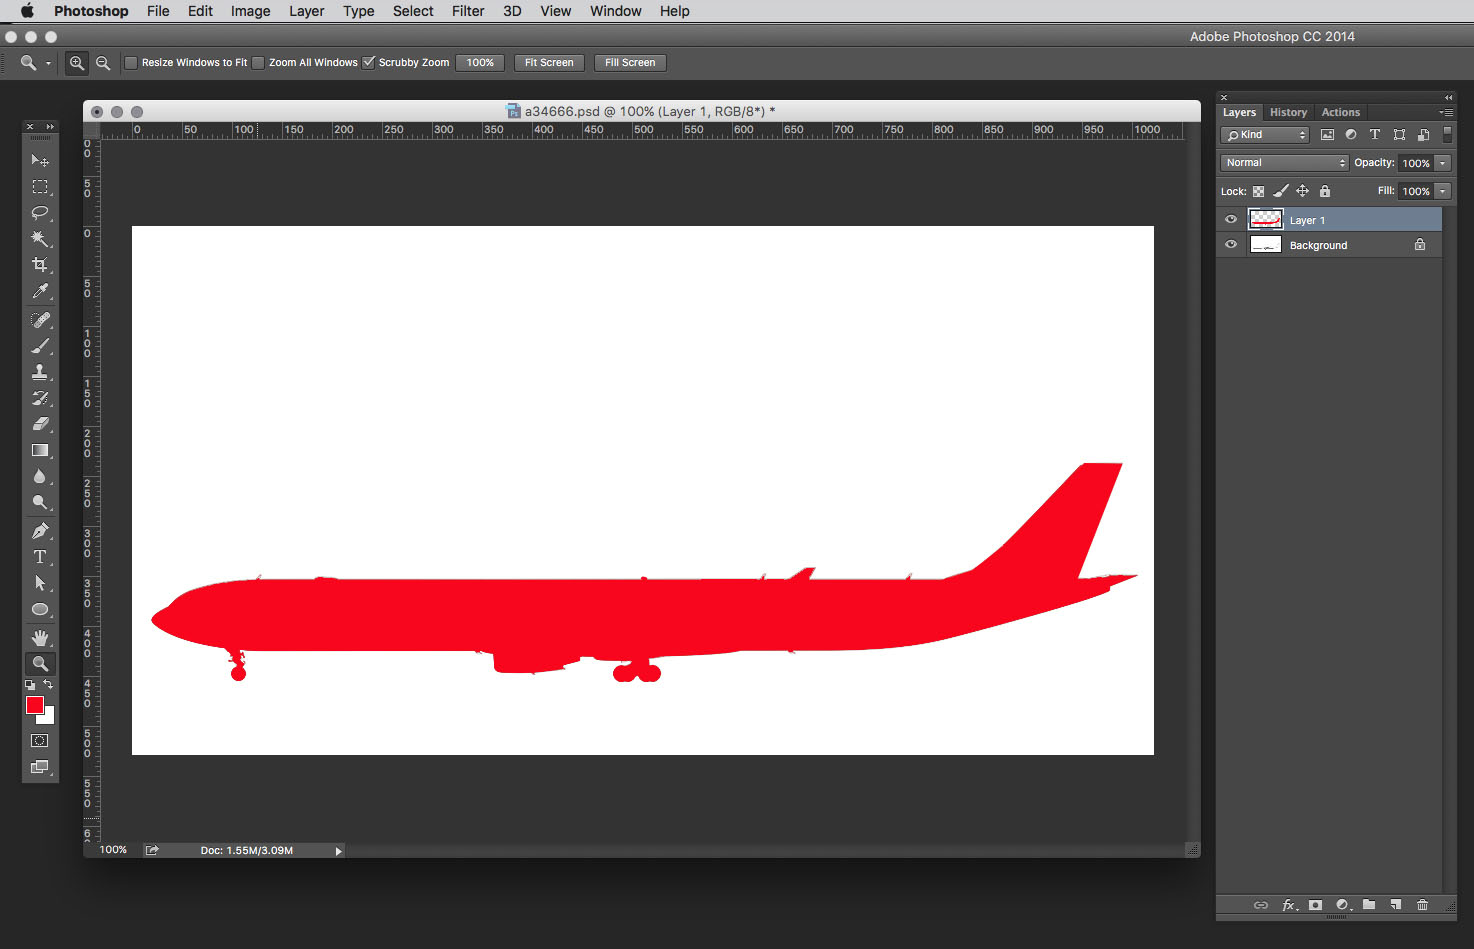
The easiest way to add color to these templates is to simply cover the entire thing, and then erase what you don’t need. For the sake of this demo, I’m just going to use red. It’s a bright color, and it will be easy to show how this is done.
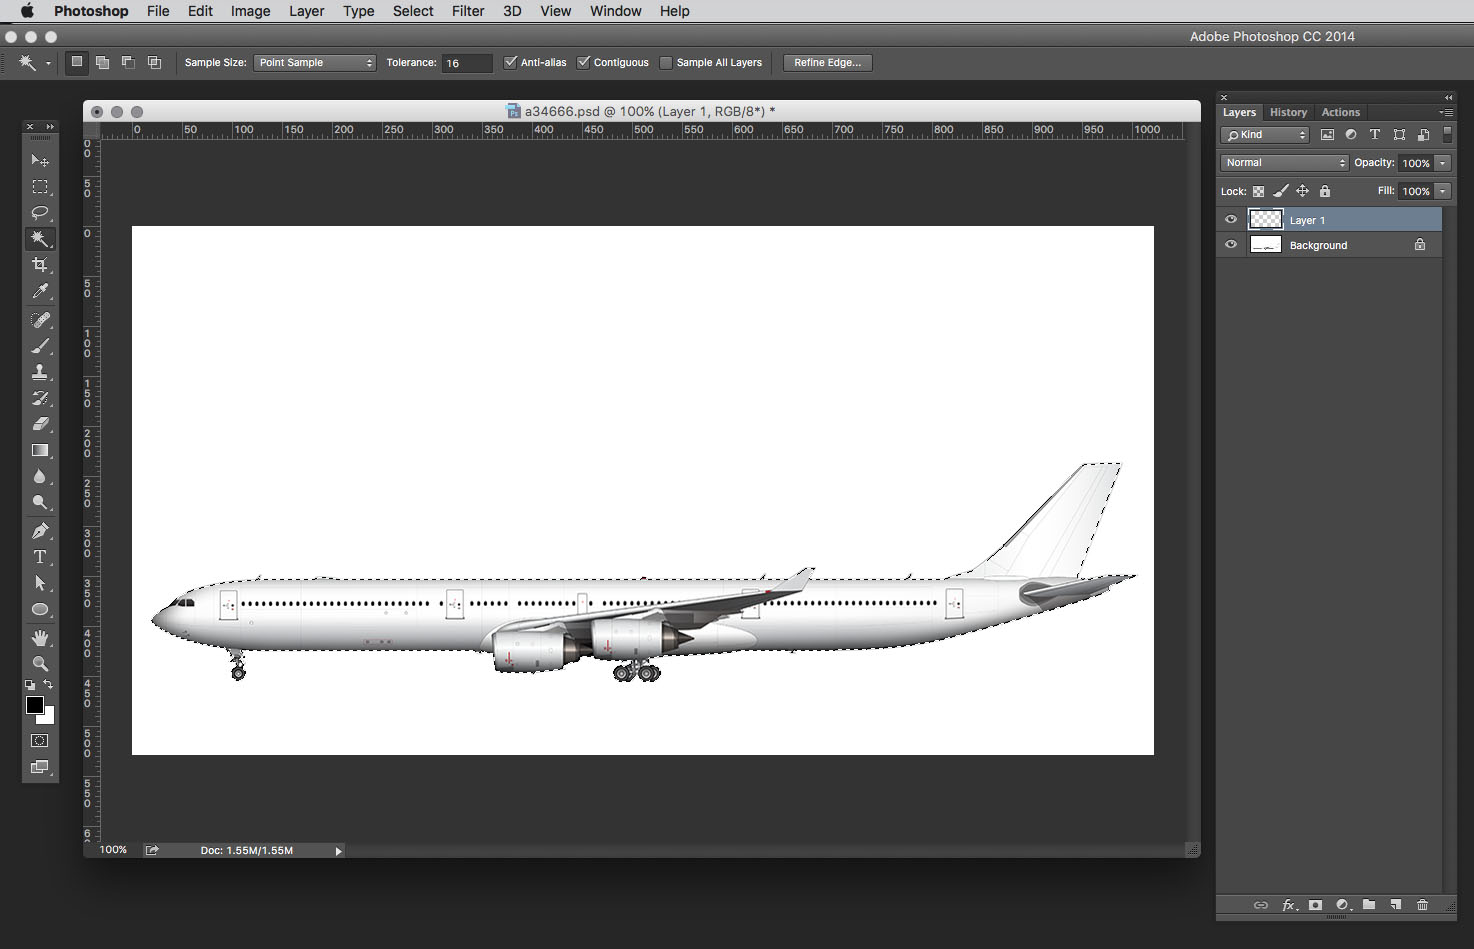
In order to trace the entire aircraft, I just use the magic wand tool and click anywhere outside of the aircraft. What this does is selects the entire white area of the background – which is backwards from what we really want, but that’s okay.
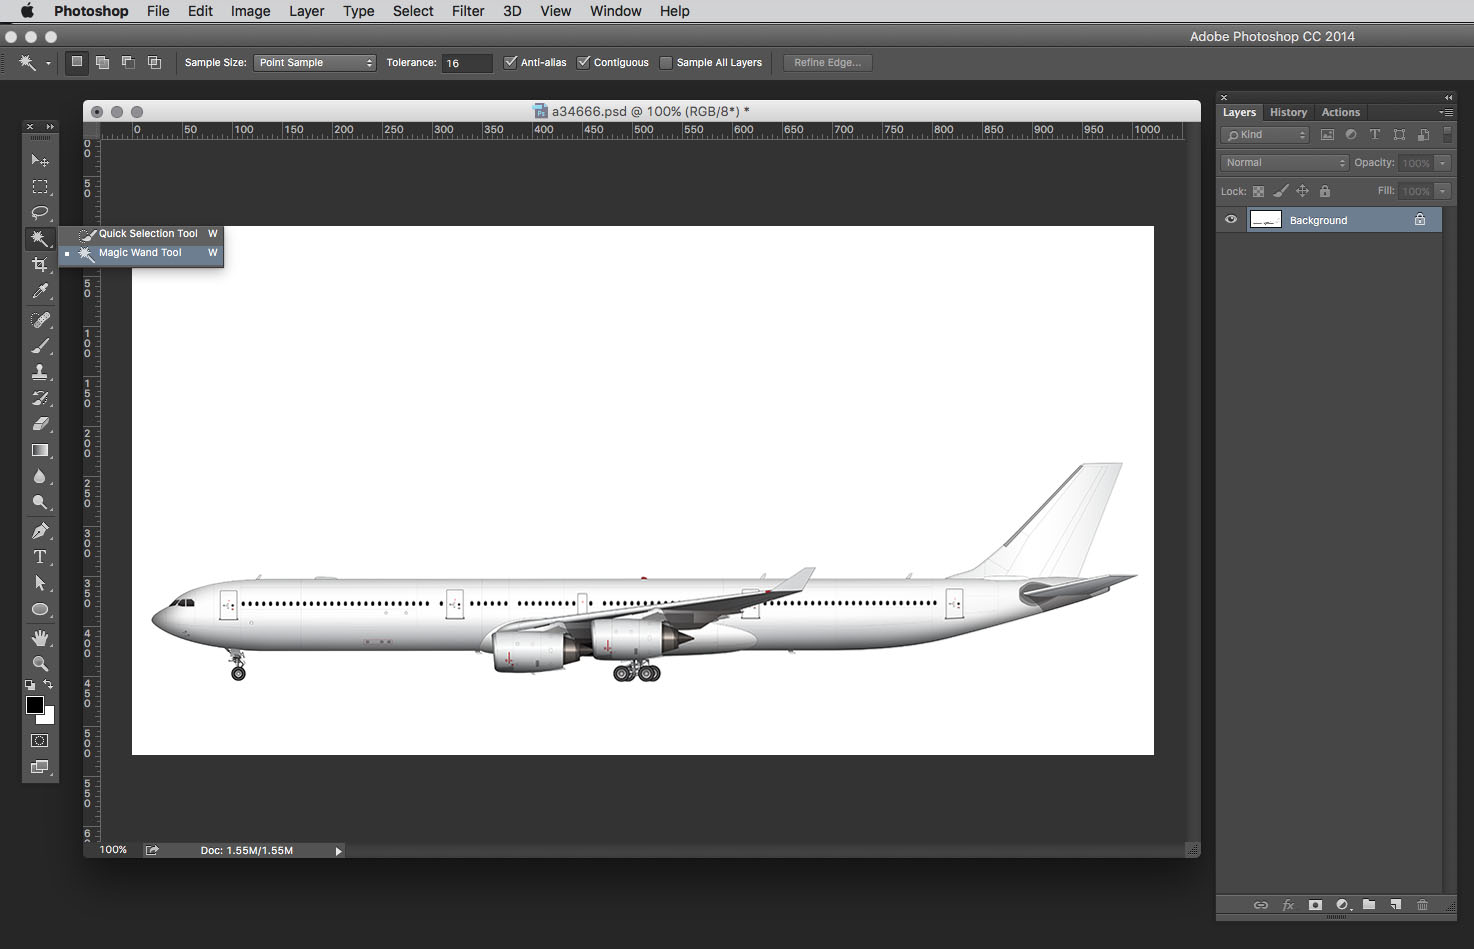
Just go to the top menu and click Select > Inverse and now the active selection area has been switched to the edges of the aircraft instead of the background.

Create a new layer. This is the layer that we will be adding our color to.
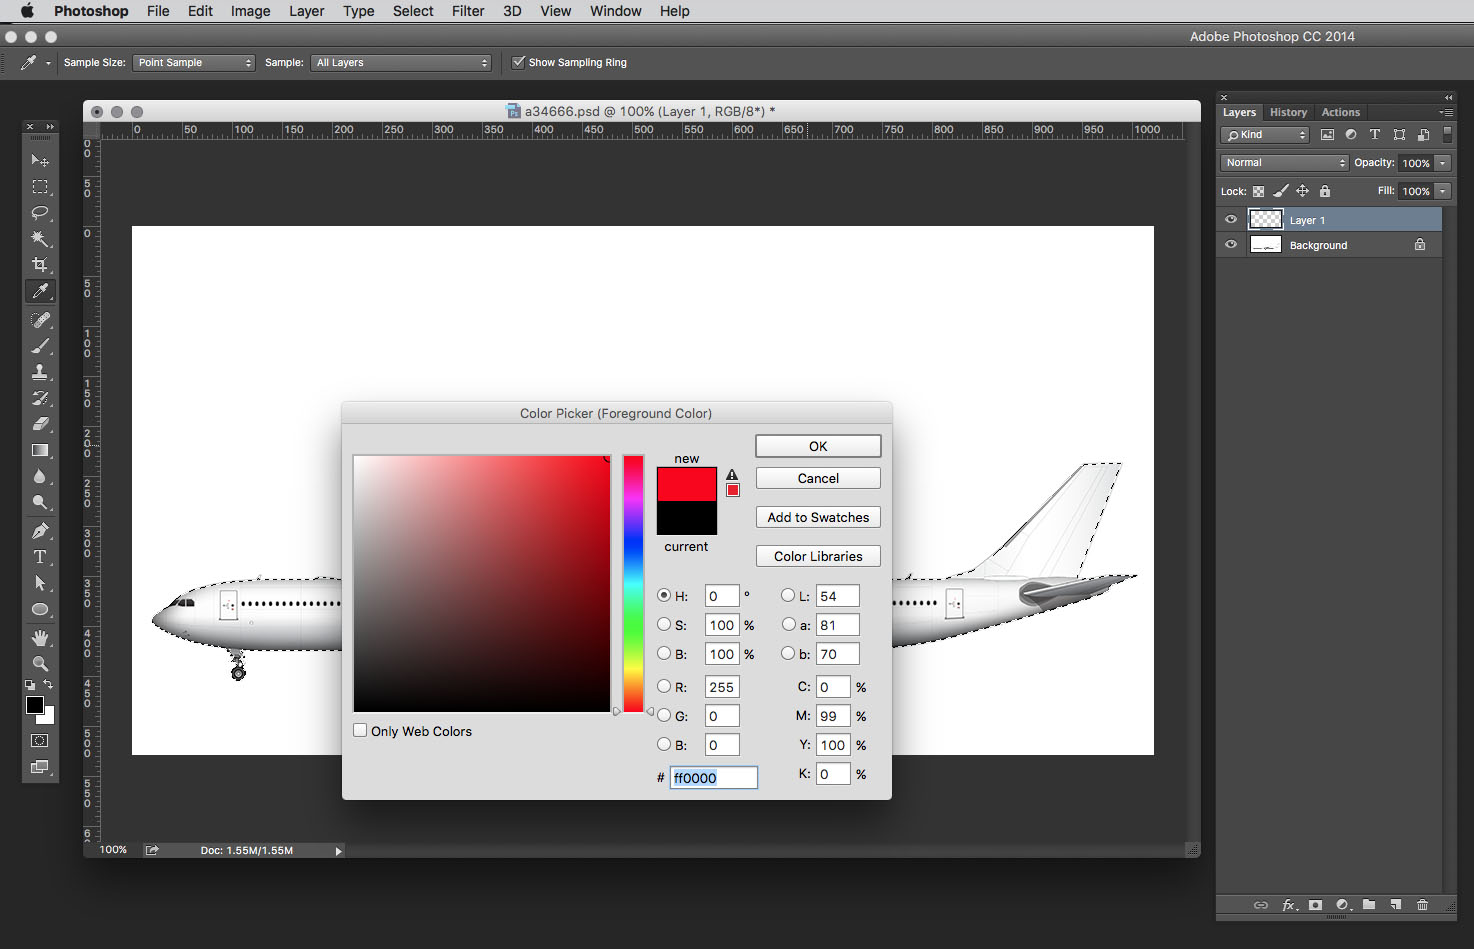
To fill the selected area with color, just hold down Option + Backspace (or Ctrl + Backspace if you’re on a PC) on your keyboard and it fills in the selection area with your primary color. You’ll notice when you do that that the vertical stabilizer and other small details may not get filled in, simply because their color matches the white color of the background too closely and it was never selected in the first place.
That’s okay. Just use the lasso tool to trace the outline of the vertical stabilizer (or any other part that was missed) and press Option + Delete on your keyboard to fill those empty spaces.

Step two: adding transparency
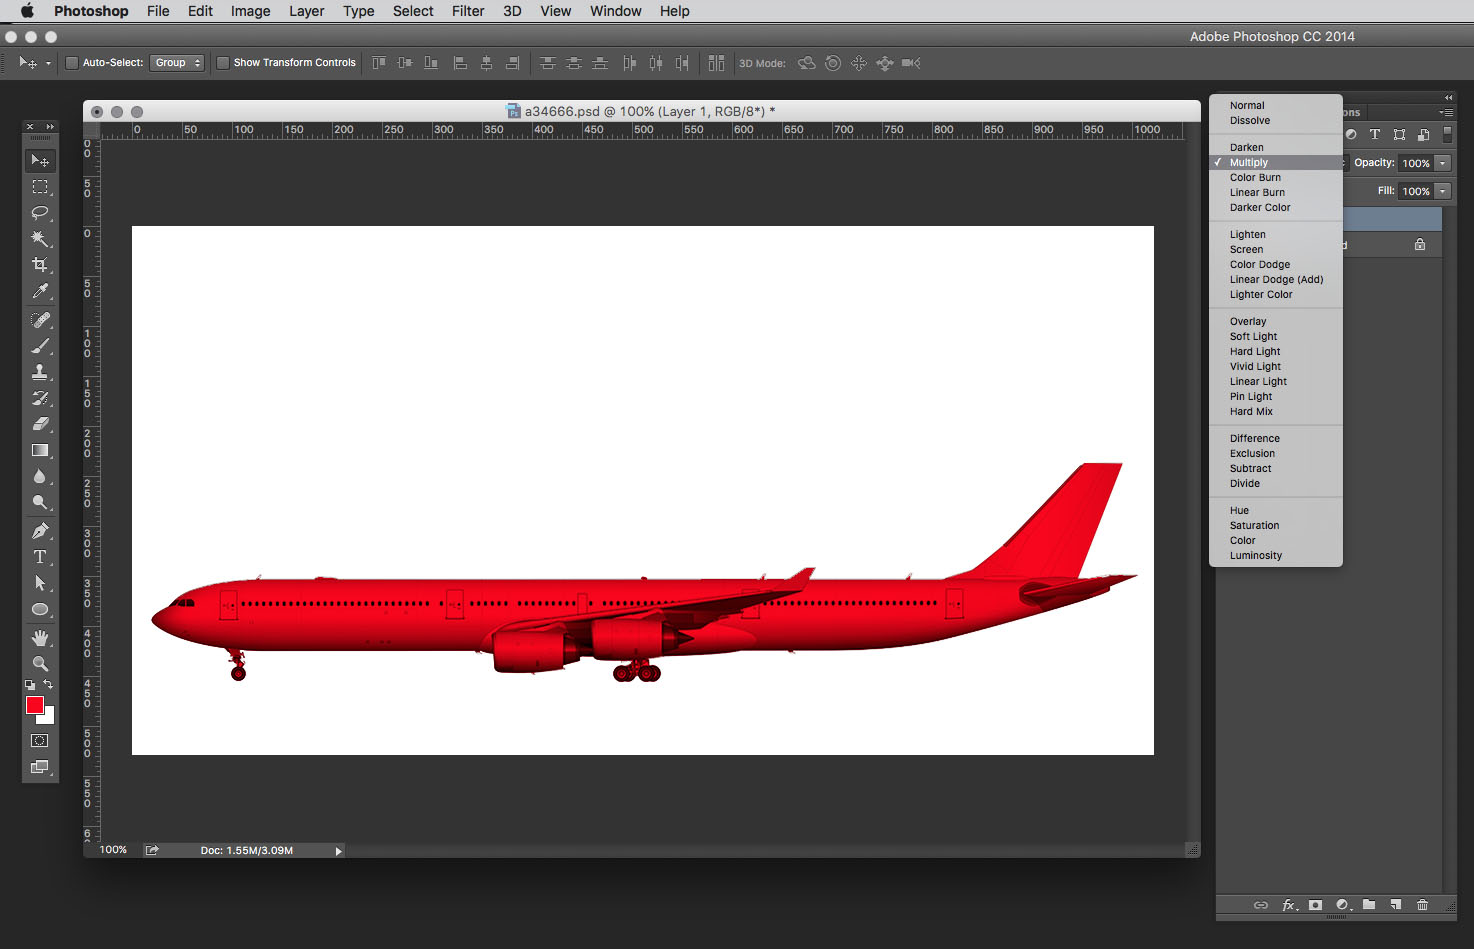
Okay, now that you got your entire aircraft covered with red, you can easily see that it doesn’t look very good. There’s no detail! Don’t worry, this is an easy fix.
With your color layer selected, simply go to the blending modes drop down at the top of the layers palette and choose “ Multiply”. Voila! You can now see all the shadows and details of the template underneath, while maintaining the fully vibrancy of the red fill color.
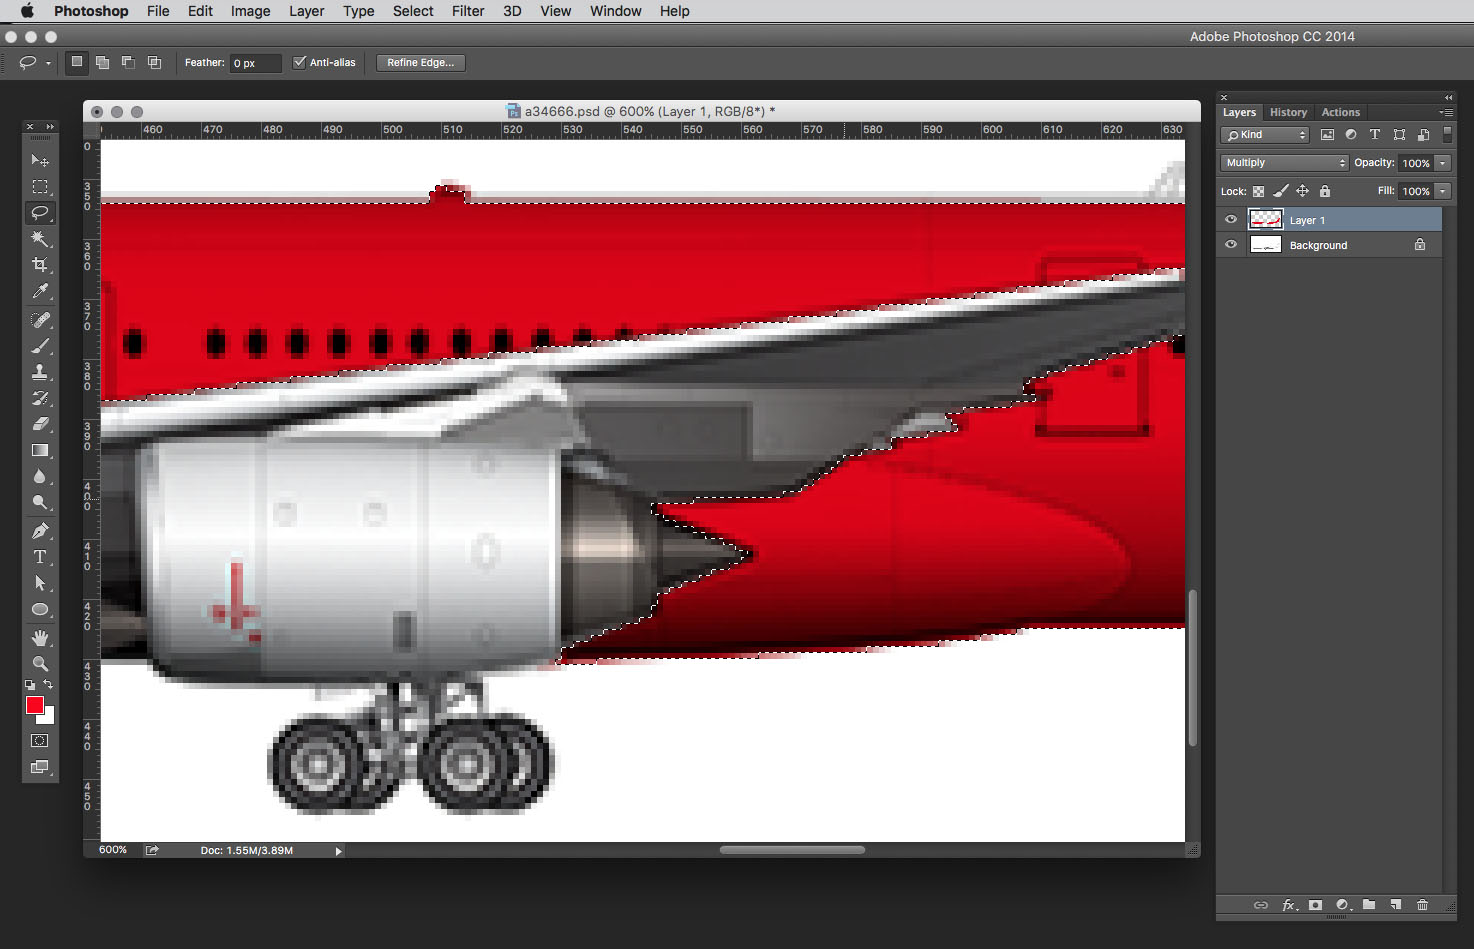
Step three: trimming your color layer
We obviously don’t want paint over top of the wings and other details, so it will be necessary to trim all those areas away. With your color layer selected, use the lasso tool to trace around any areas where you do not want color. I usually hold down the Option key on my keyboard and then click around the object to trace – this constrains the lasso to straight lines which makes it a lot easier to trace complex objects.
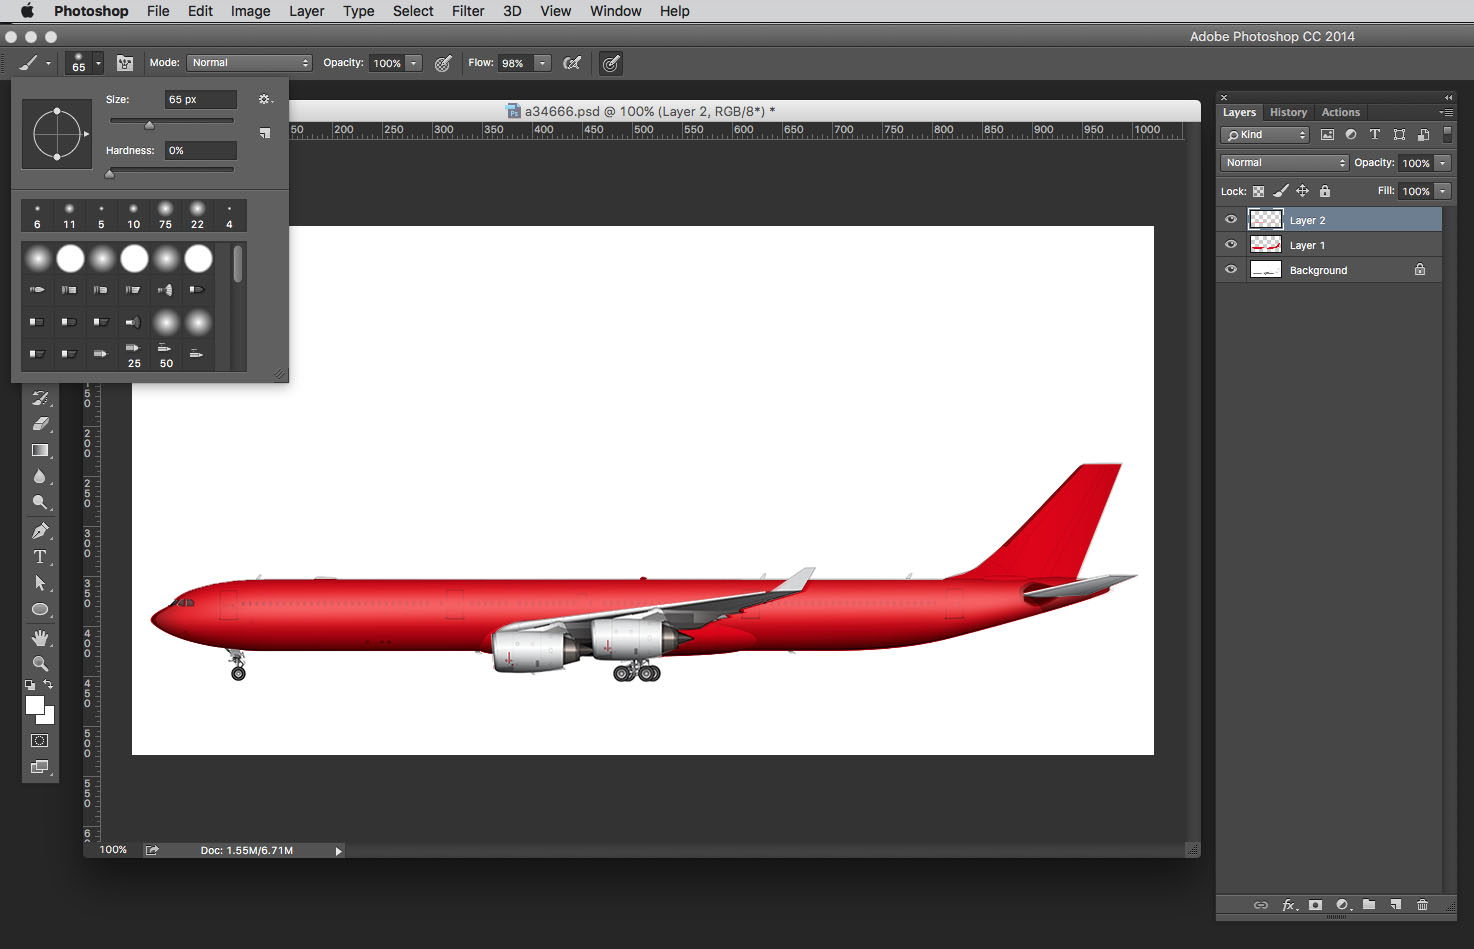
Step four: adding highlights
Starting to look pretty good isn’t it? There are some more things we need to do in order for it to start looking realistic though. The biggest issue is the lack of highlights. The fuselage of an aircraft is essentially a large cylinder, and it’s not going to look realistic until you put a highlight right down the center of it. In order to do that, select the soft paint brush tool with a radius of 65 and change your primary fill color to white.
Create a new layer and simply draw a horizontal line with that soft brush across the entire length of the fuselage. Holding down the Shift key will constrain the line to be perfectly straight which really helps in situations like this. Don’t worry about coloring outside the lines – just put a nice highlight across the length of the fuselage, and we will trim away everything that spills over the edges in a moment.
If it’s too sharp you can use the Gaussian Blur (Filter > Blur > Gaussian Blur) tool to blur it out to your liking.
Once you got looking the way you like, we need to trim away all the white highlight that is spilling beyond the edges of the fuselage. Go back to your color layer, hover over the thumbnail icon of the layer and click it while holding down Command on your keyboard. This will select the entire color layer. Then go to Select > Inverse.
With the color layer still showing the marching ants around it, select the highlight layer and then press delete on your keyboard. This will delete all of the blurred white highlight that was extending outside the edges of the aircraft.

Step five: enhancing the details
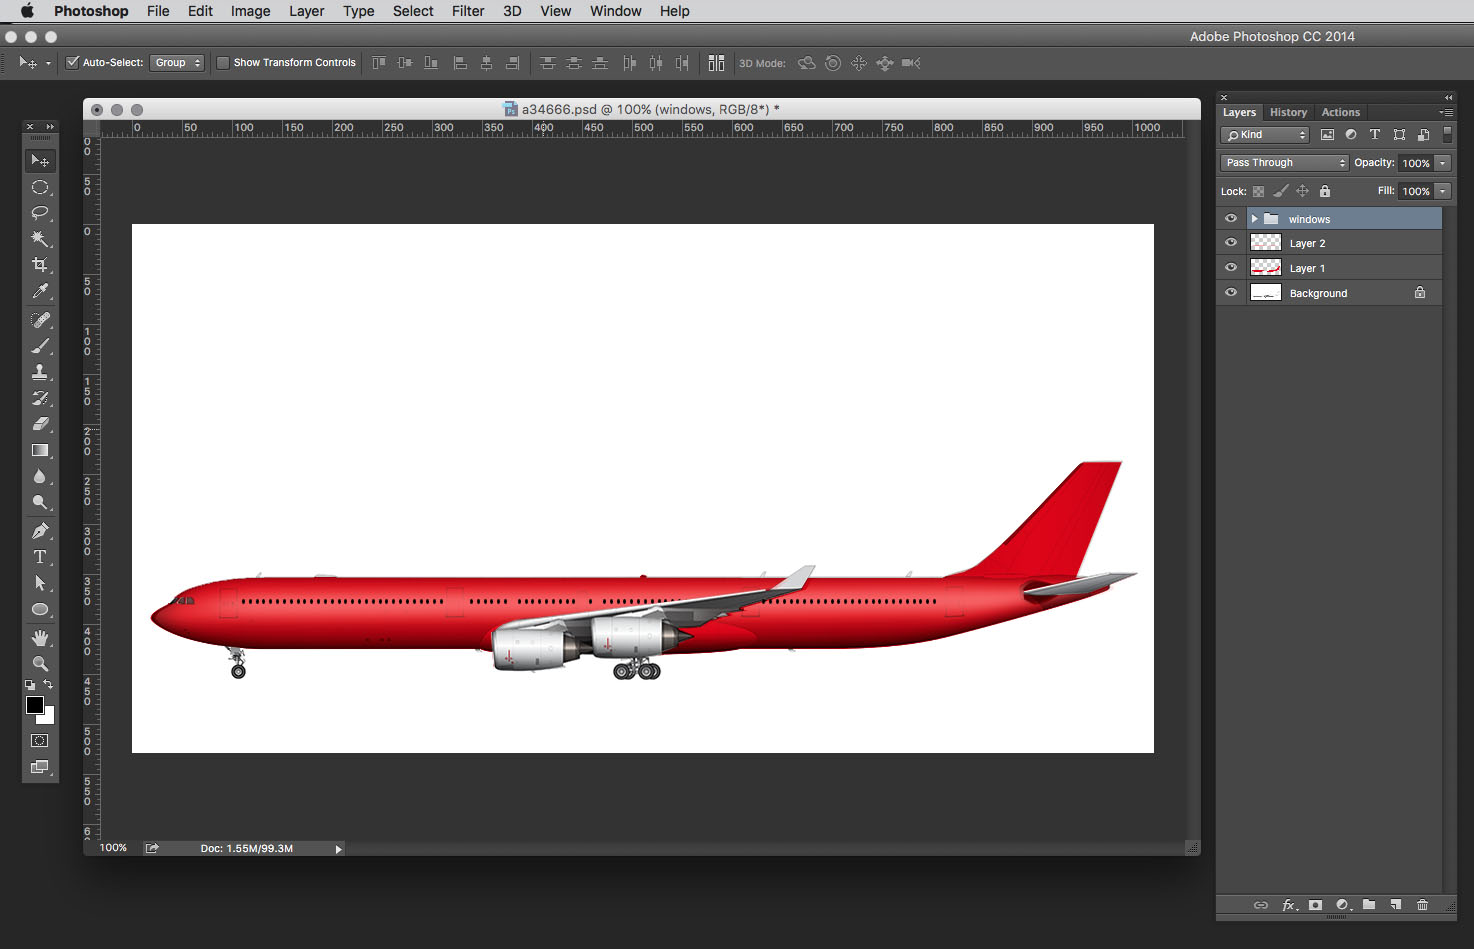
Its starting to look like a real aircraft isn’t it? The only problem now is that we can’t see the windows anymore. While you could go through your layers and just delete everything that is covering each window, I would advise against that simply because you want to leave color and highlight layers intact as much as possible. Do not cut those up, because you never know when you need to go back and edit them in the future.
The easiest way to bring back the windows is to simply re-create them. It takes a few minutes but it’s totally worth it. You can do this by creating a new layer and then use the ellipse selection tool to trace an existing window. Fill that with black, and then duplicate that layer for each window using the position of the windows in my template as a guide. What you got all the windows re-created, it’s best just to combine all those window layers into one to keep things simple and organized.


Step six: Bling!
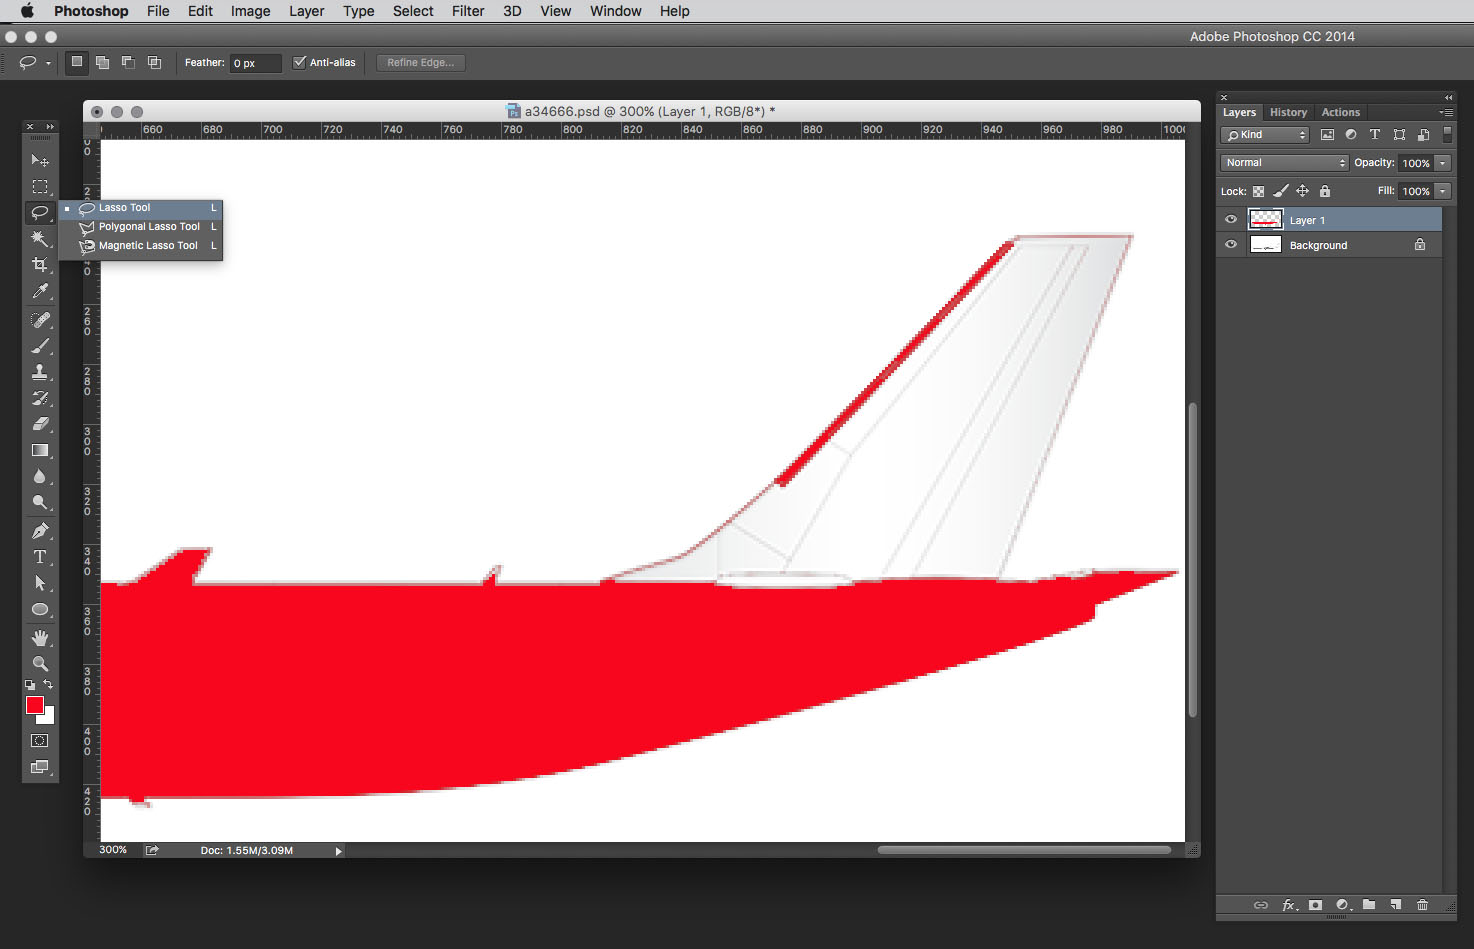
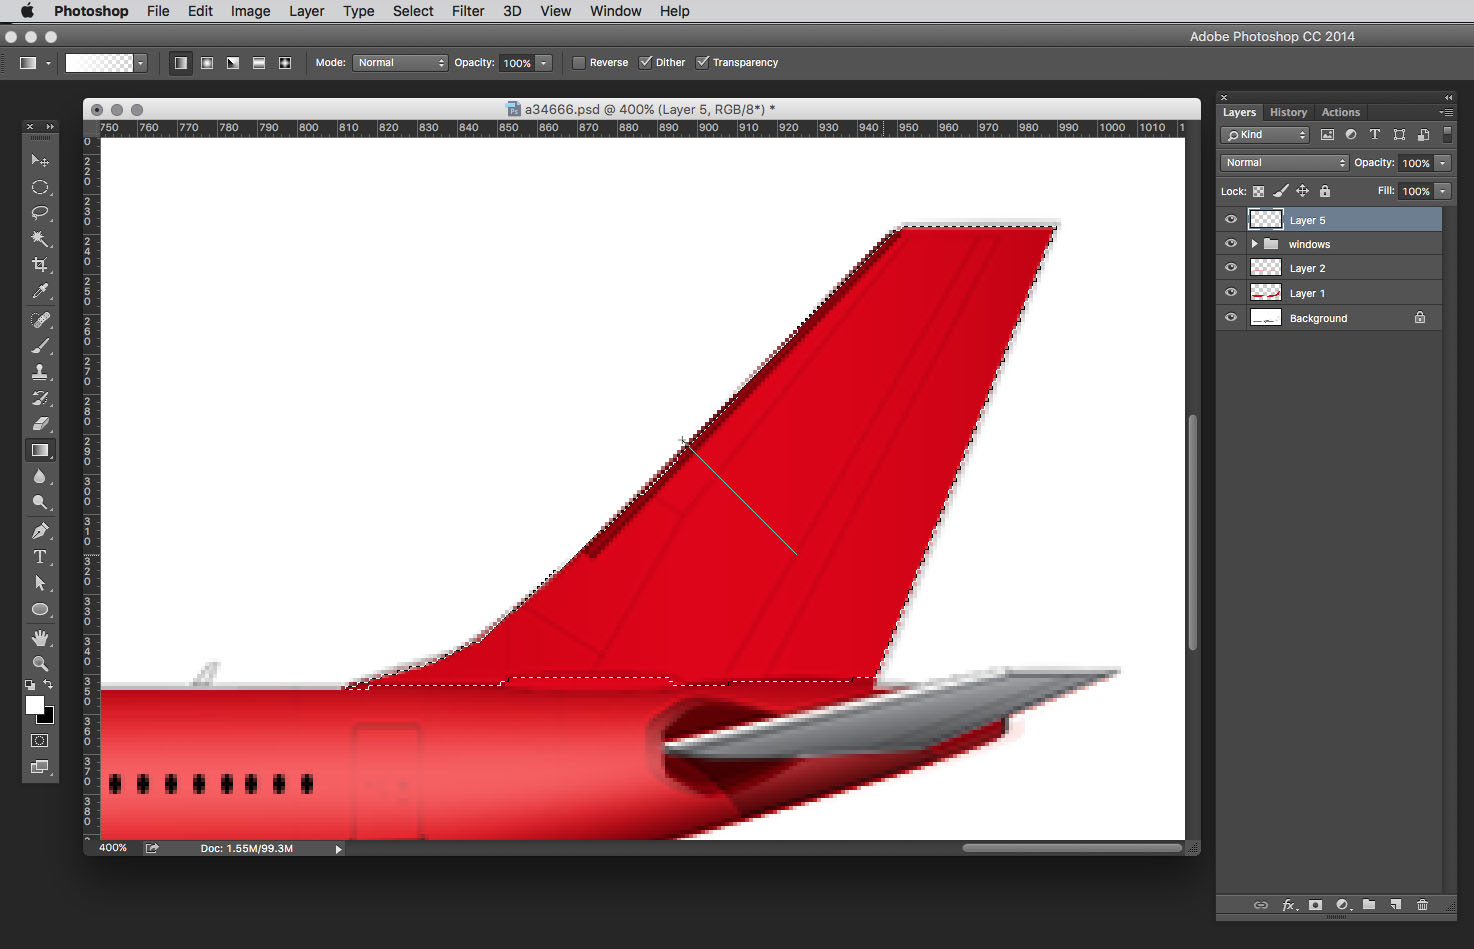
One of my favorite parts about creating aircraft illustrations is adding the hard reflection on the vertical stabilizer. It’s the little details like this which will really make your illustration pop and give it tons of depth.
To create a hard reflection, simply trace the edges of the vertical stabilizer with the lasso tool.

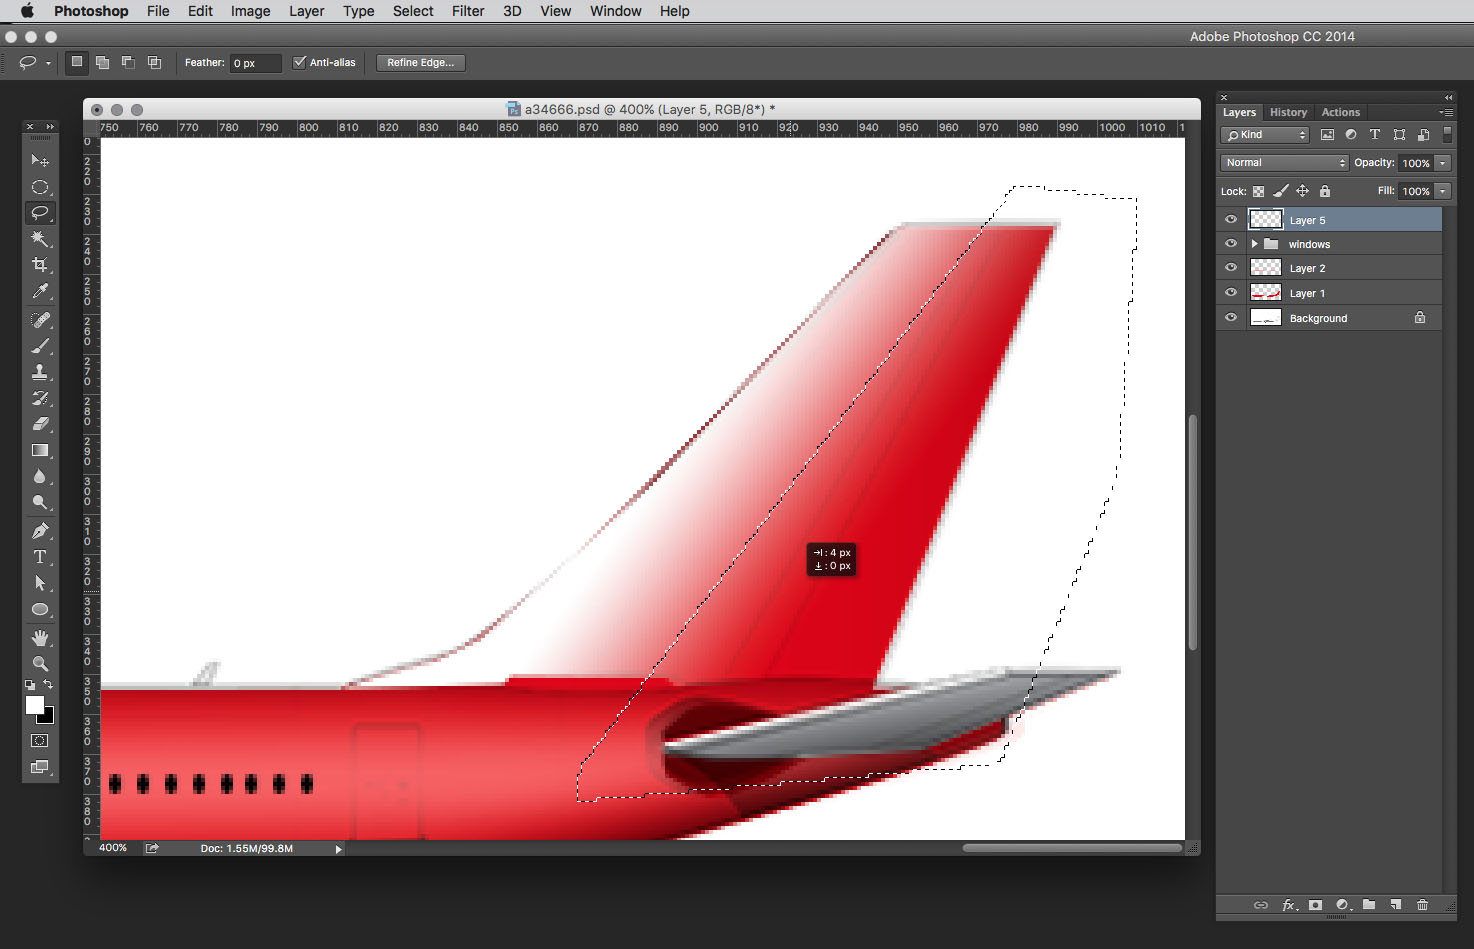
Create a new layer, and use the gradient tool to add a white gradient to the front edge of the vertical stabilizer.
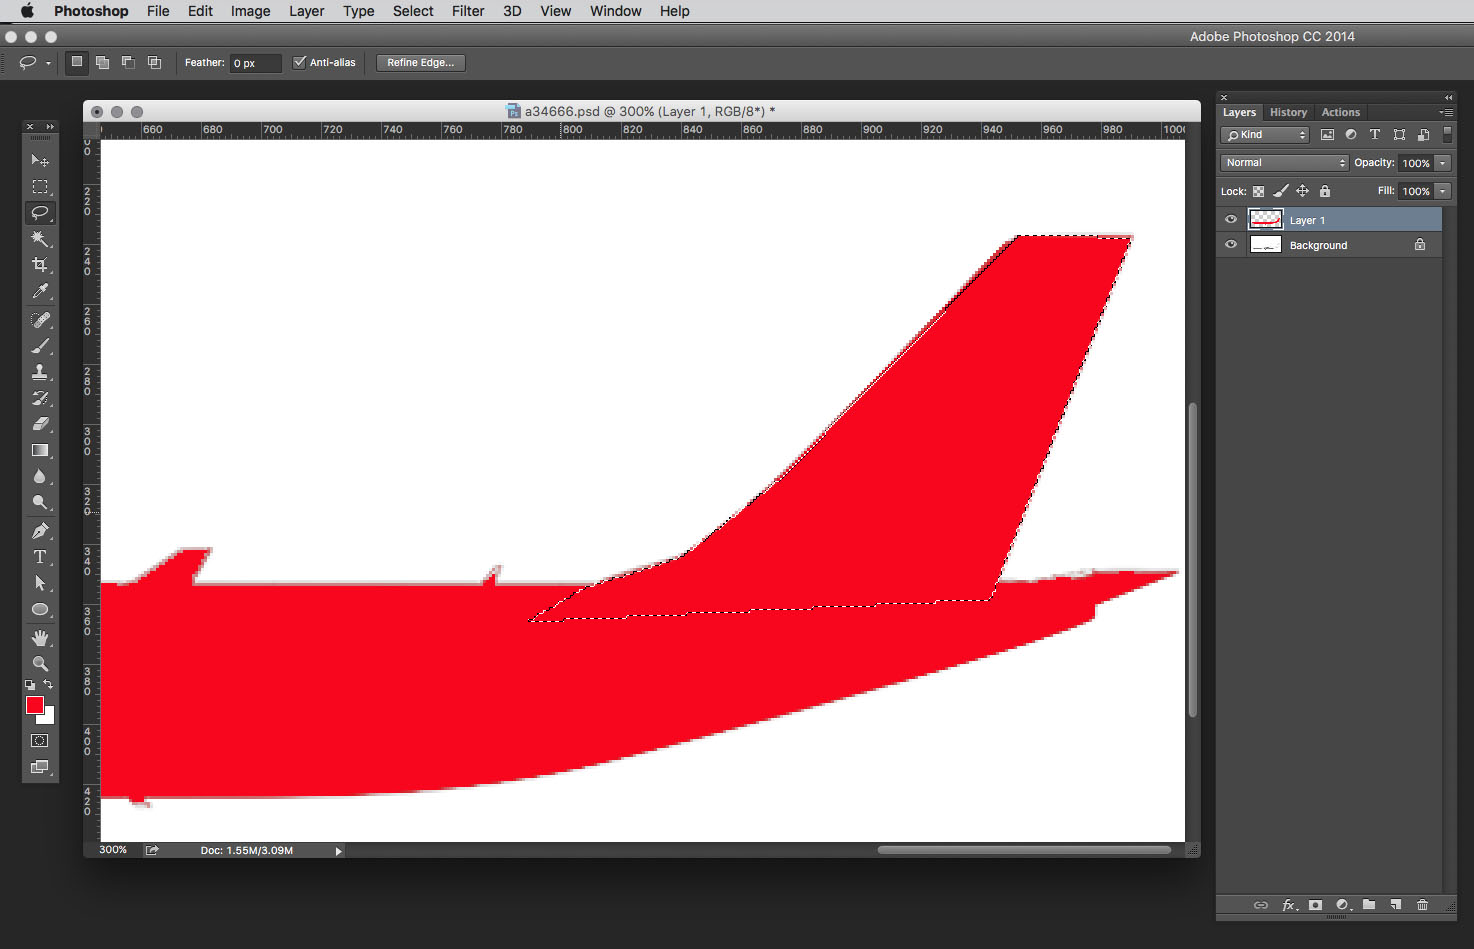
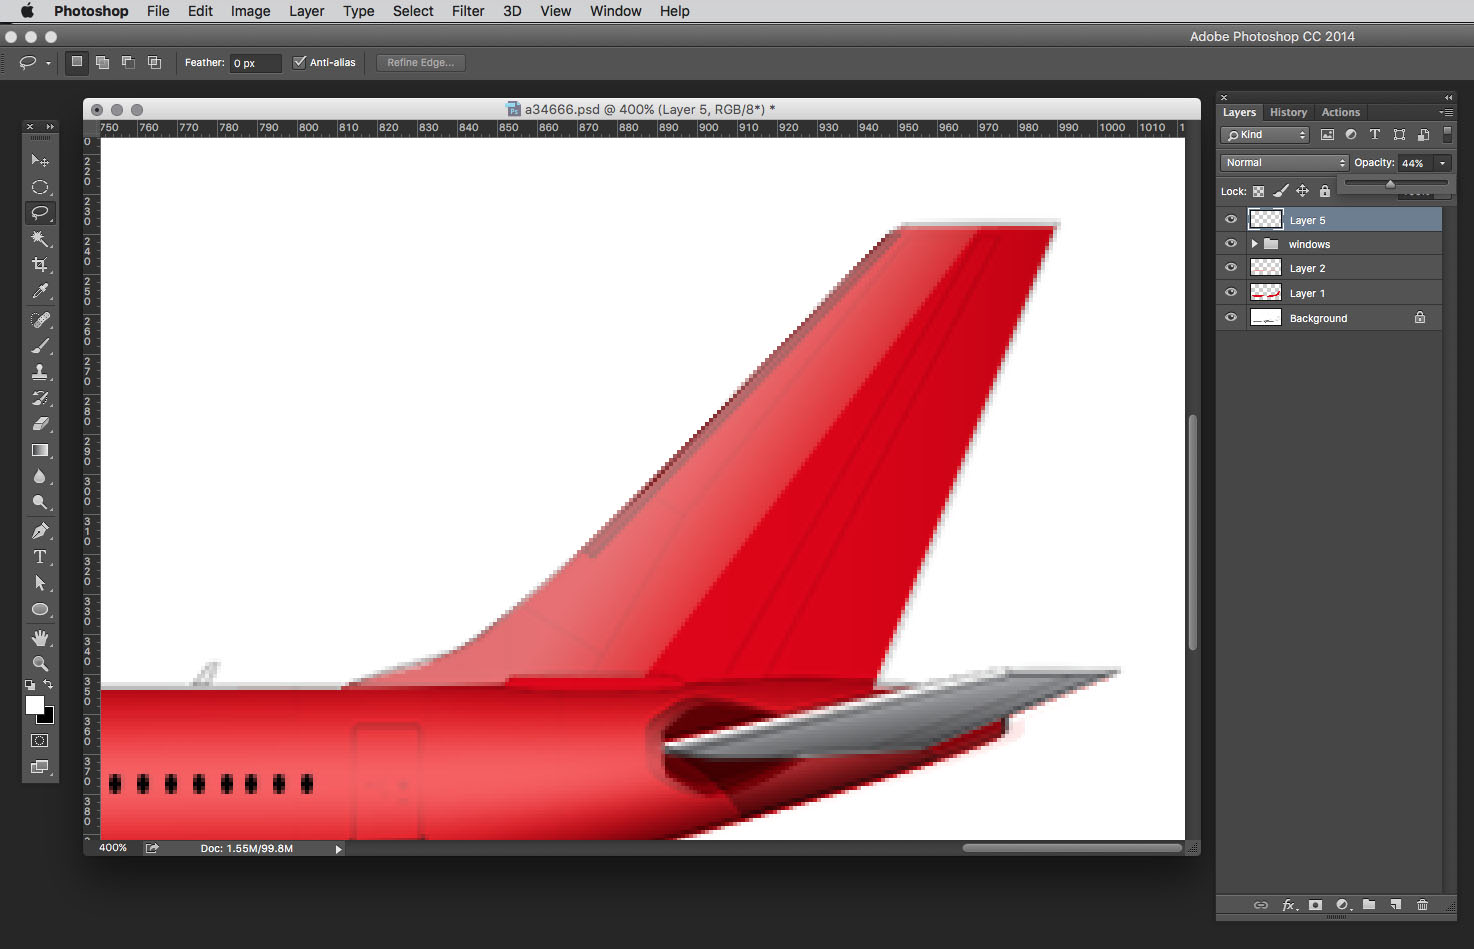
As you can see, our first pass of this is much to bright. Since it’s on its own layer, increase the transparency of the layer so that it’s not so strong.
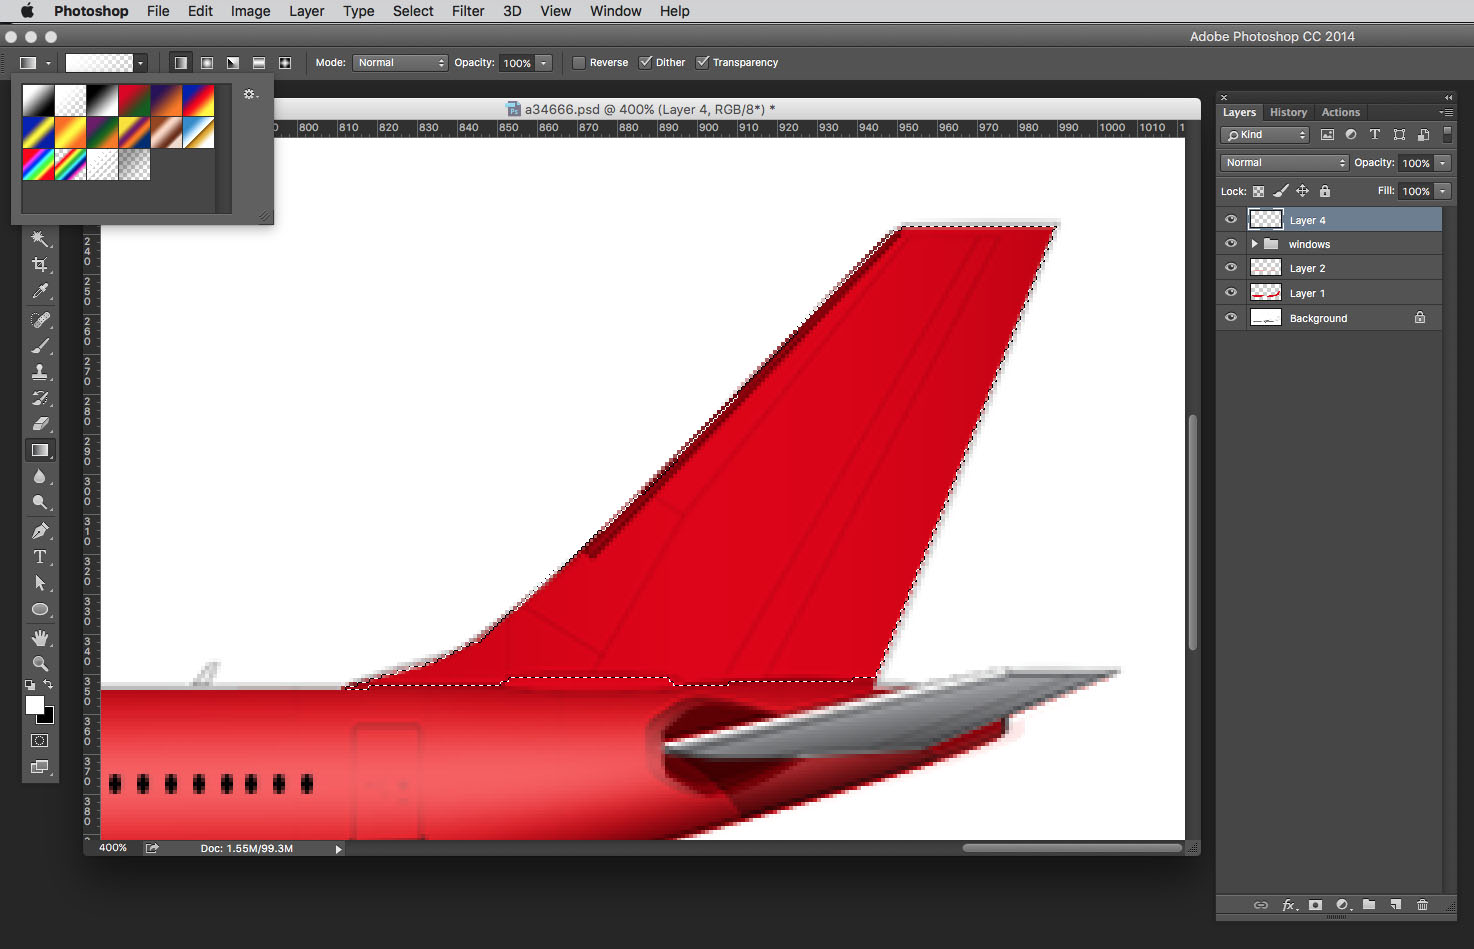
Then use the lasso tool draw a hard line down the center of the vertical stabilizer. Delete the left edge.
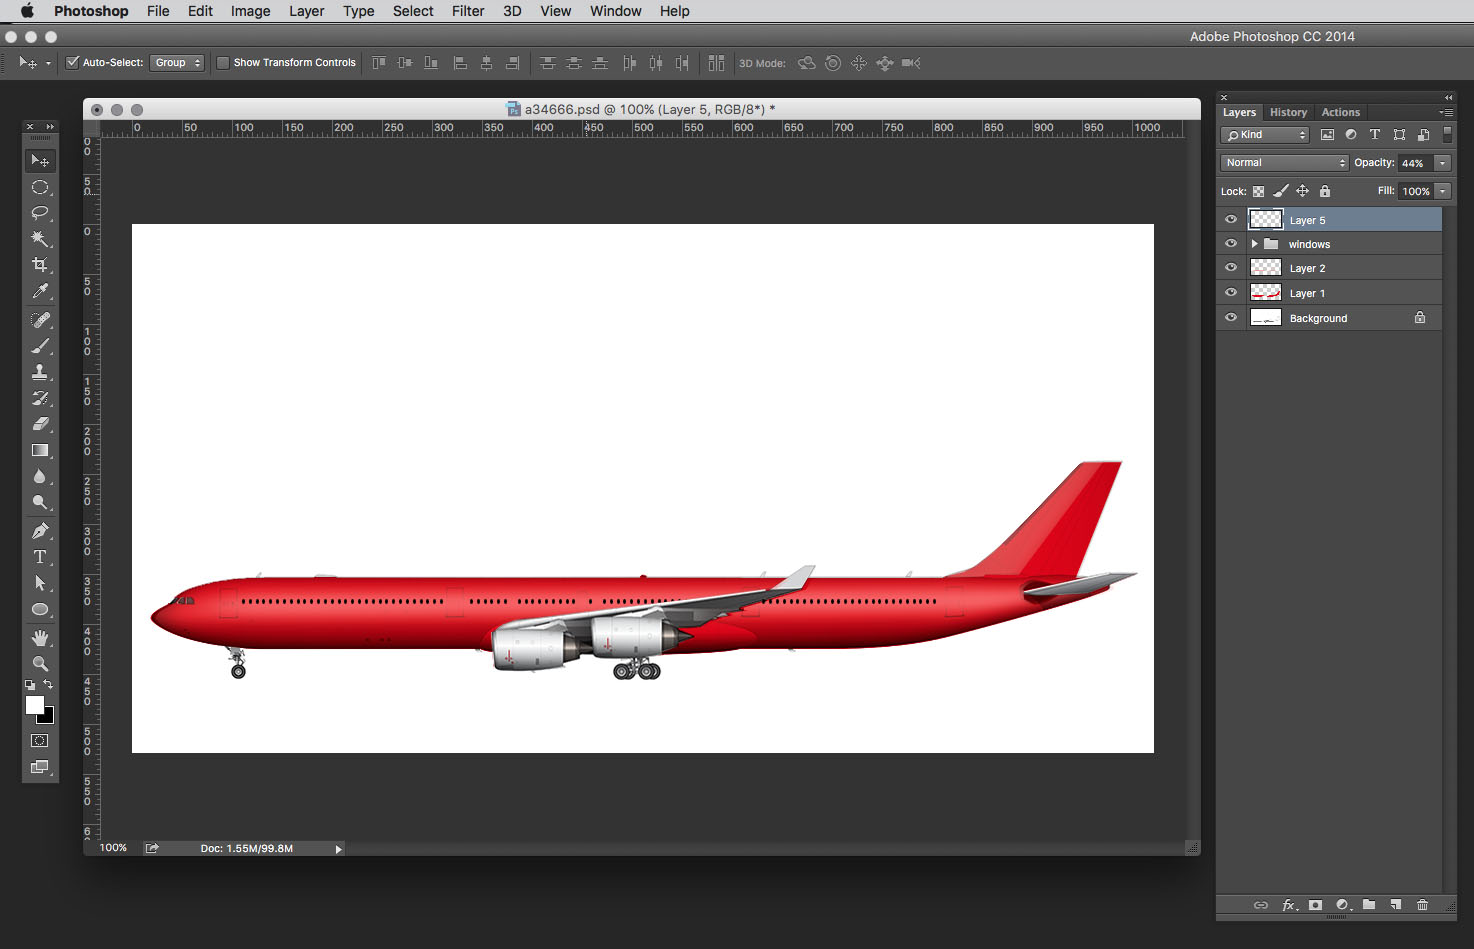
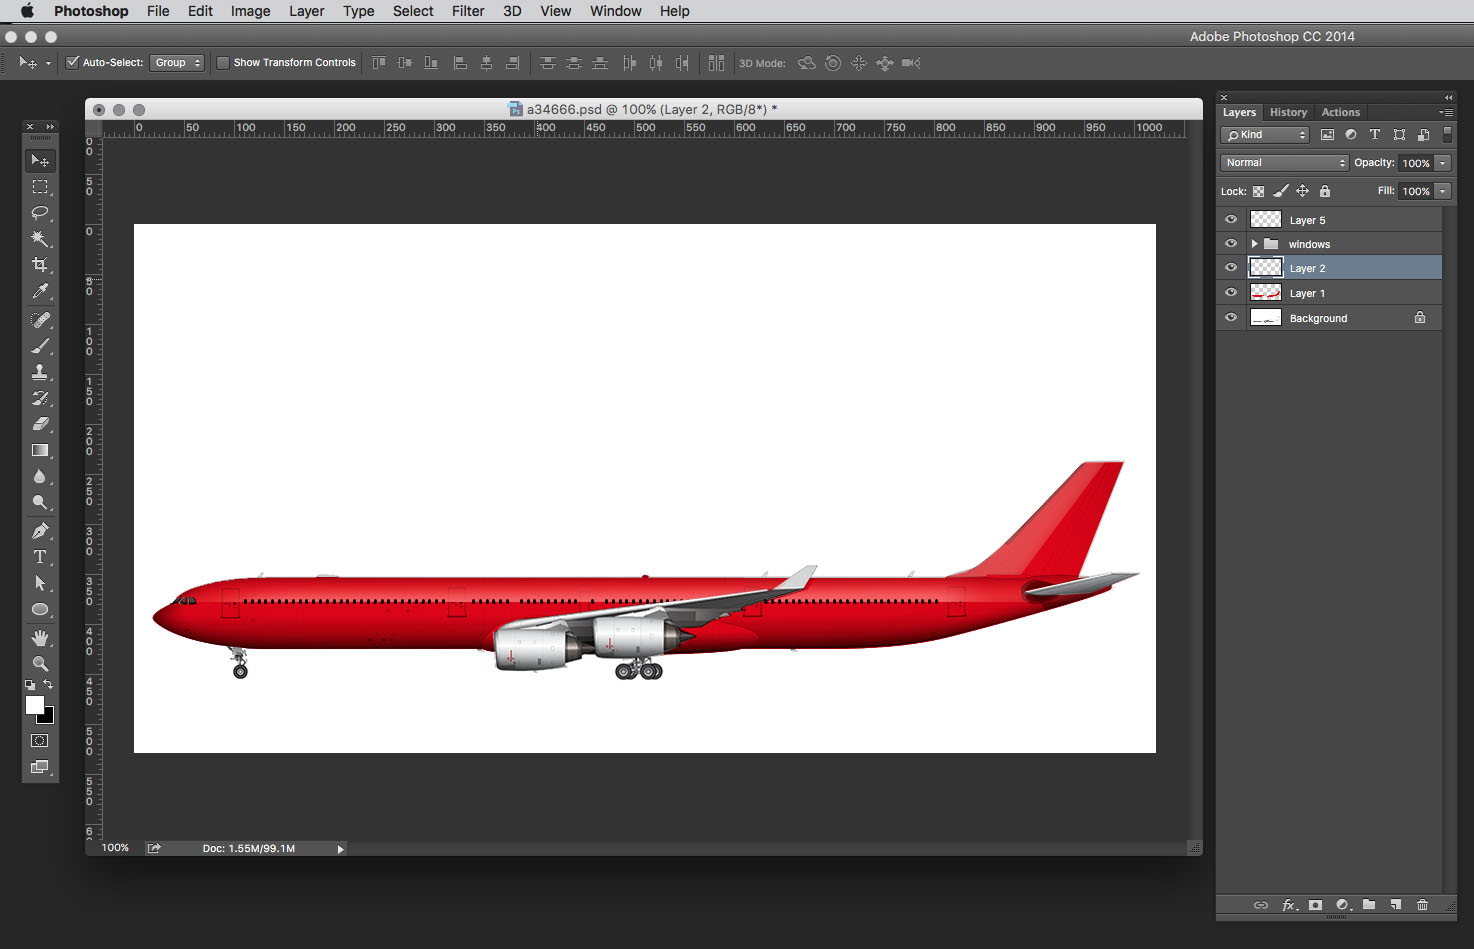
So there you have it. Adding color to my free JPEG templates isn’t really that difficult, and you’ll get a lot better with practice. Of course my high resolution PSD templates are much easier to work with (because each element is on a separate layer), but working with these JPEG’s will seem like second nature once you get the hang of it.
Still have questions? Leave a comment below or feel free to email me if there’s something that you’re still getting stuck with. I’d love to help!