Now that I’m starting to get back into the world of 3d modeling, I figured I’d go after an object that is both massively cool and somewhat easy to model. A Tesla Cybertruck 3d model fit that criteria perfectly.
Long story short, it was by far the easiest automotive 3d model that I’ve ever created. The Lamborghini Huracan 3d model that I built six weeks ago was incredibly difficult, and the relatively simple shape of the Cybertruck was a refreshing change of pace. However, that’s not to say that I didn’t run into difficulty along the way…
A brief overview of this Tesla Cybertruck 3d model
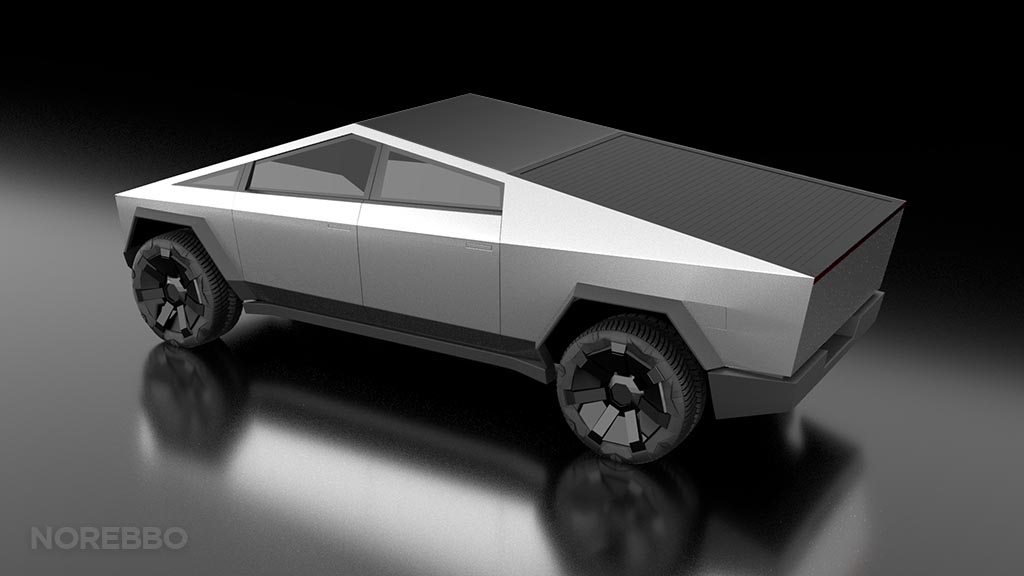
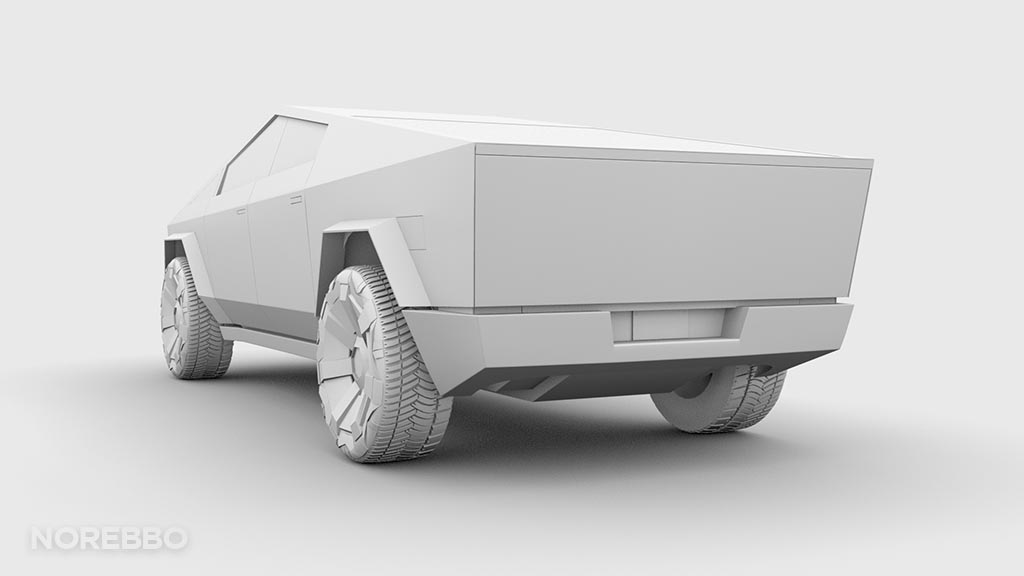
As you can see below, it turned out fairly well. The modeling process was relatively simple, and the only real trouble that I had was maintaining the sharp corners at the edges. I’ll get into the details of that in the moment, but here are the screenshots of the final result:
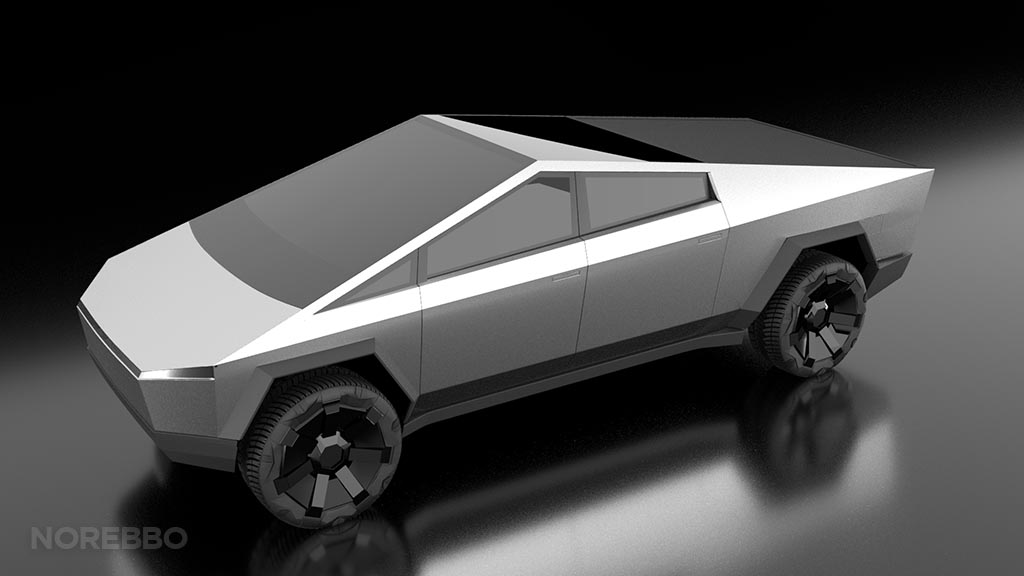

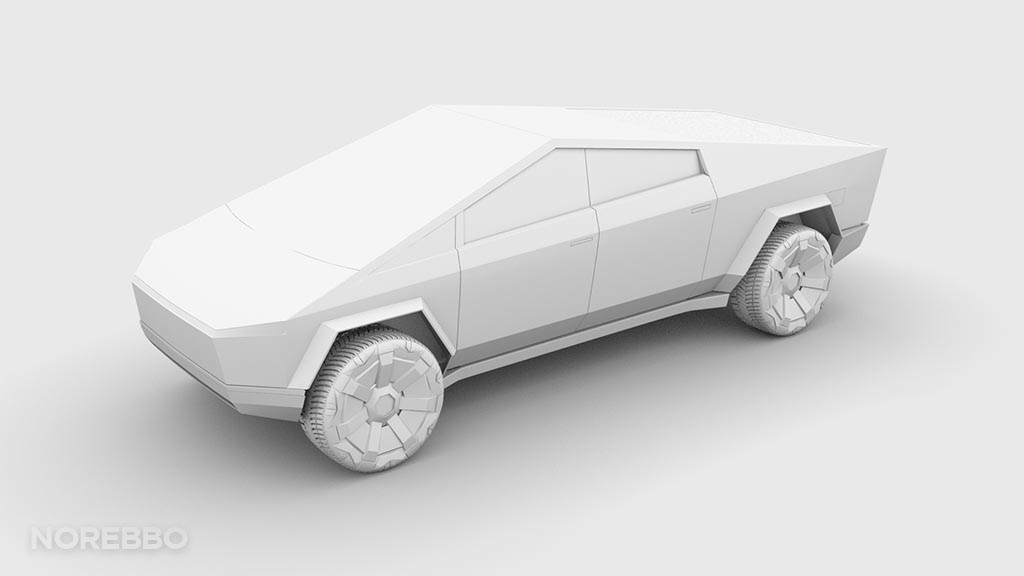

No matter what you think of the Cybertruck, you’ve got to admit that it’s a bold departure from the norm. I personally thought that Elon Musk was trolling us when he unveiled it to the world on stage back in November of 2019, but it turns out that this is the real deal.
I’ve grown to like it more as time passes on. Especially after studying it so closely to create this 3d model.
How was this model built?
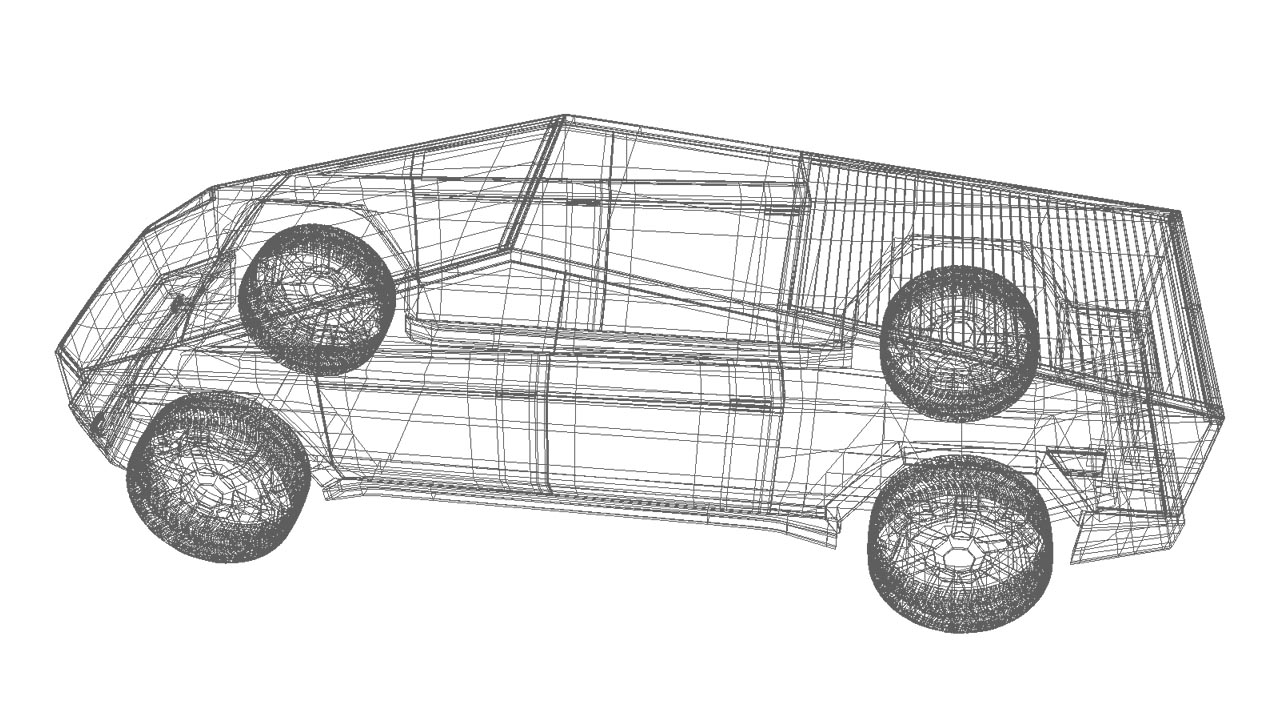
This Tesla Cybertruck 3d model was built in Maya (of course), including a splash of skepticism and a raised eyebrow or two along the way. The Cybertruck is a polygon modeler’s dream, since there are very few curved surfaces on this beast and everything else is wedge-shaped with hard angles transitioning from surface to surface.
Unfortunately, I was somewhat stubborn towards my approach towards building it. I’m a huge fan of high-poly models, and I love injecting as much detail into everything that I build. Therefore, even though the Cybertruck is designed with flat surfaces and razor-sharp edges, my goal was to create it without any faceting. The only way to do this was to add tons of edge loops to the corners and edges so that I could smooth out the surface for the ultimate in up-close realism and detail.
However, it wasn’t until I was 90% done with this project that I realized that it wasn’t necessary to do the edge loop / “smooth surface” thing. Leaving the panels completely un-smoothed and using Maya’s “bevel” feature to round the corner edges would’ve been a far better approach. Oh well. I learn from every 3d model that I create, and that was the biggest lesson learned with this one.
So. What’s the poly count then?
Now that you know that I went completely overboard with the level of detail with this Cybertruck 3d model, you’re probably dying to know how high the poly count is. Well, to be honest, it’s not that bad actually. At least when you compare it to my recent Lamborghini 3d model.
- Verts: 307688
- Edges: 591484
- Faces: 285166
- Tris: 570283
- UVs: 416214
As you can see, it’s not totally ridiculous. Also, keep in mind that most of the poly count comes from the tires. The tires are usually the most dense parts of an automotive 3d model, and it’s the first place to trim detail when you need to cut file size.
All of the frustrating challenges that I faced when creating this model of the Cybertruck
To say that it was more difficult than I was anticipating is an understatement. I’m sure that has a lot to do with me being ignorantly overconfident before I started, thinking that it was an extremely simple design and it wouldn’t take that long to do. Yes, it didn’t take us nearly as long as my other automotive 3d models, but there were still a handful of things that caused me a lot of stress and anxiety:
- The main thing (as I already alluded to) was deciding to go the ultra high-resolution route by adding tons of edge loops everywhere. This turned out to be a total nightmare. The amount and density of these edge loops made managing them extremely difficult, especially when trying to find places to terminate them into the corners. All you 3d modelers out there know exactly what I’m talking about. Too many edge loops in tight spaces is an extremely difficult thing to deal with.
- The tires may be the strangest thing about the Cybertruck. You see, of all the the reference material I found didn’t show anything which depicted a clean and organized tread pattern. Seriously – just do a Google search for “Cybertruck tires”, and you’ll see how chaotic (and mostly random) the tread pattern is. It was extremely difficult to replicate, and I ultimately had to use some artistic license there.
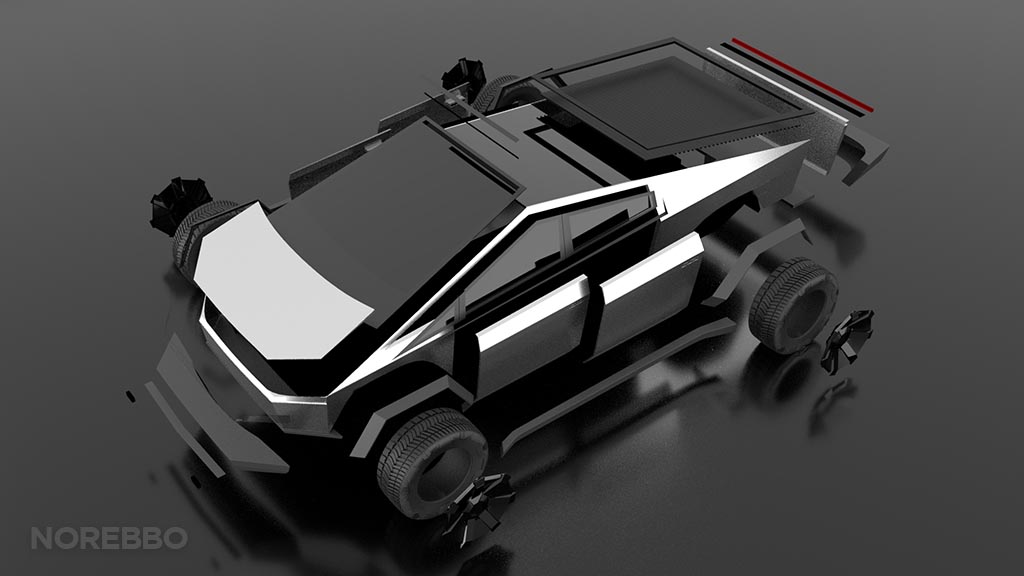
- Rendering the flat surfaces was extremely challenging. Once I completed this 3d model of the Cybertruck, I built a simple environment around it with a series of area lights to illuminate it for the renderings. It turns out that it’s extremely difficult to light an object with angular flat surfaces that way, and I had a heckuva time arranging the lighting to show all the services in the best light possible.
Are the textures included with the purchase of this model?
They are if you use the native Maya version (which is included along with OBJ and FBX formats). FYI, this model was rendered directly in Maya‘s using the Arnold Render engine – which comes standard in Maya these days.
All of the materials and textures that I created for the renderings above aren’t anything fancy. I simply used the aiStandardSurface shader as a starting point for every texture and then modified it as necessary.
What about UV maps? Are those included to?
No, simply because there aren’t any. I’m the type of modeler who likes to build everything in 3d, only leaving texture maps to the tiny details which would be far too difficult and time-consuming to model piece-by-piece.
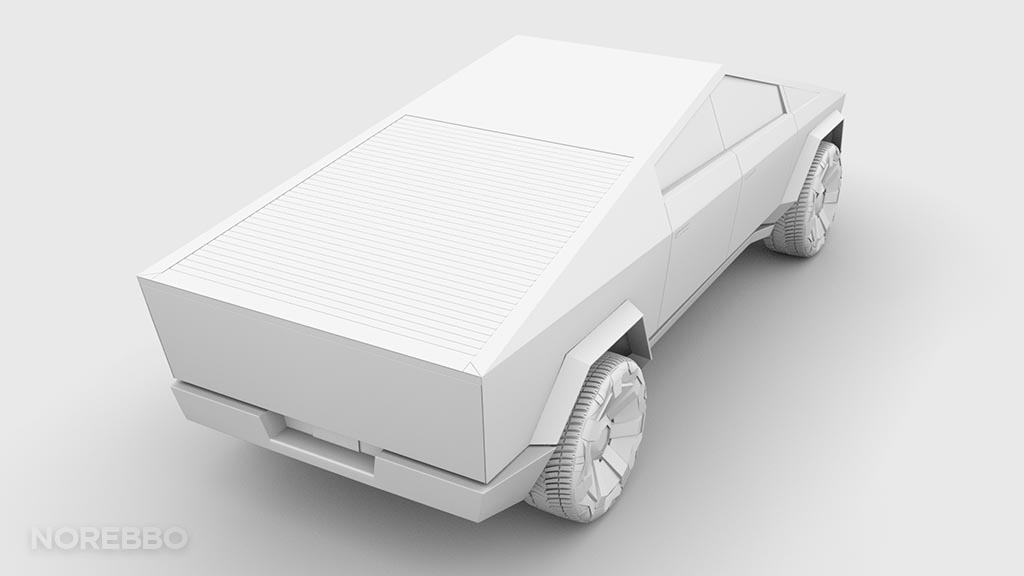
For example, the segmented deck lid cover on the CyberTruck would be a perfect candidate for UV mapping and texturing. However, me being me, I chose to model it and not have to worry about the complexity of adding a UV map. Modeled objects look far more realistic than UV maps in my opinion, so that’s the way I’m always going to do things.
What is this Cybertruck model good for?
Because the base mesh is such high resolution, you could very easily use it in any project requiring a photo-realistic depiction of this magnificent beast. No, I don’t recommend zooming in on it so close that you could see the texture and grain of the stainless steel body panels, but a rendering depicting it at a distance of 10 to 15 feet is very convincing.